How to Create a Decoden Cream Jewellery Box: Step-by-Step Guide
STEP ONE
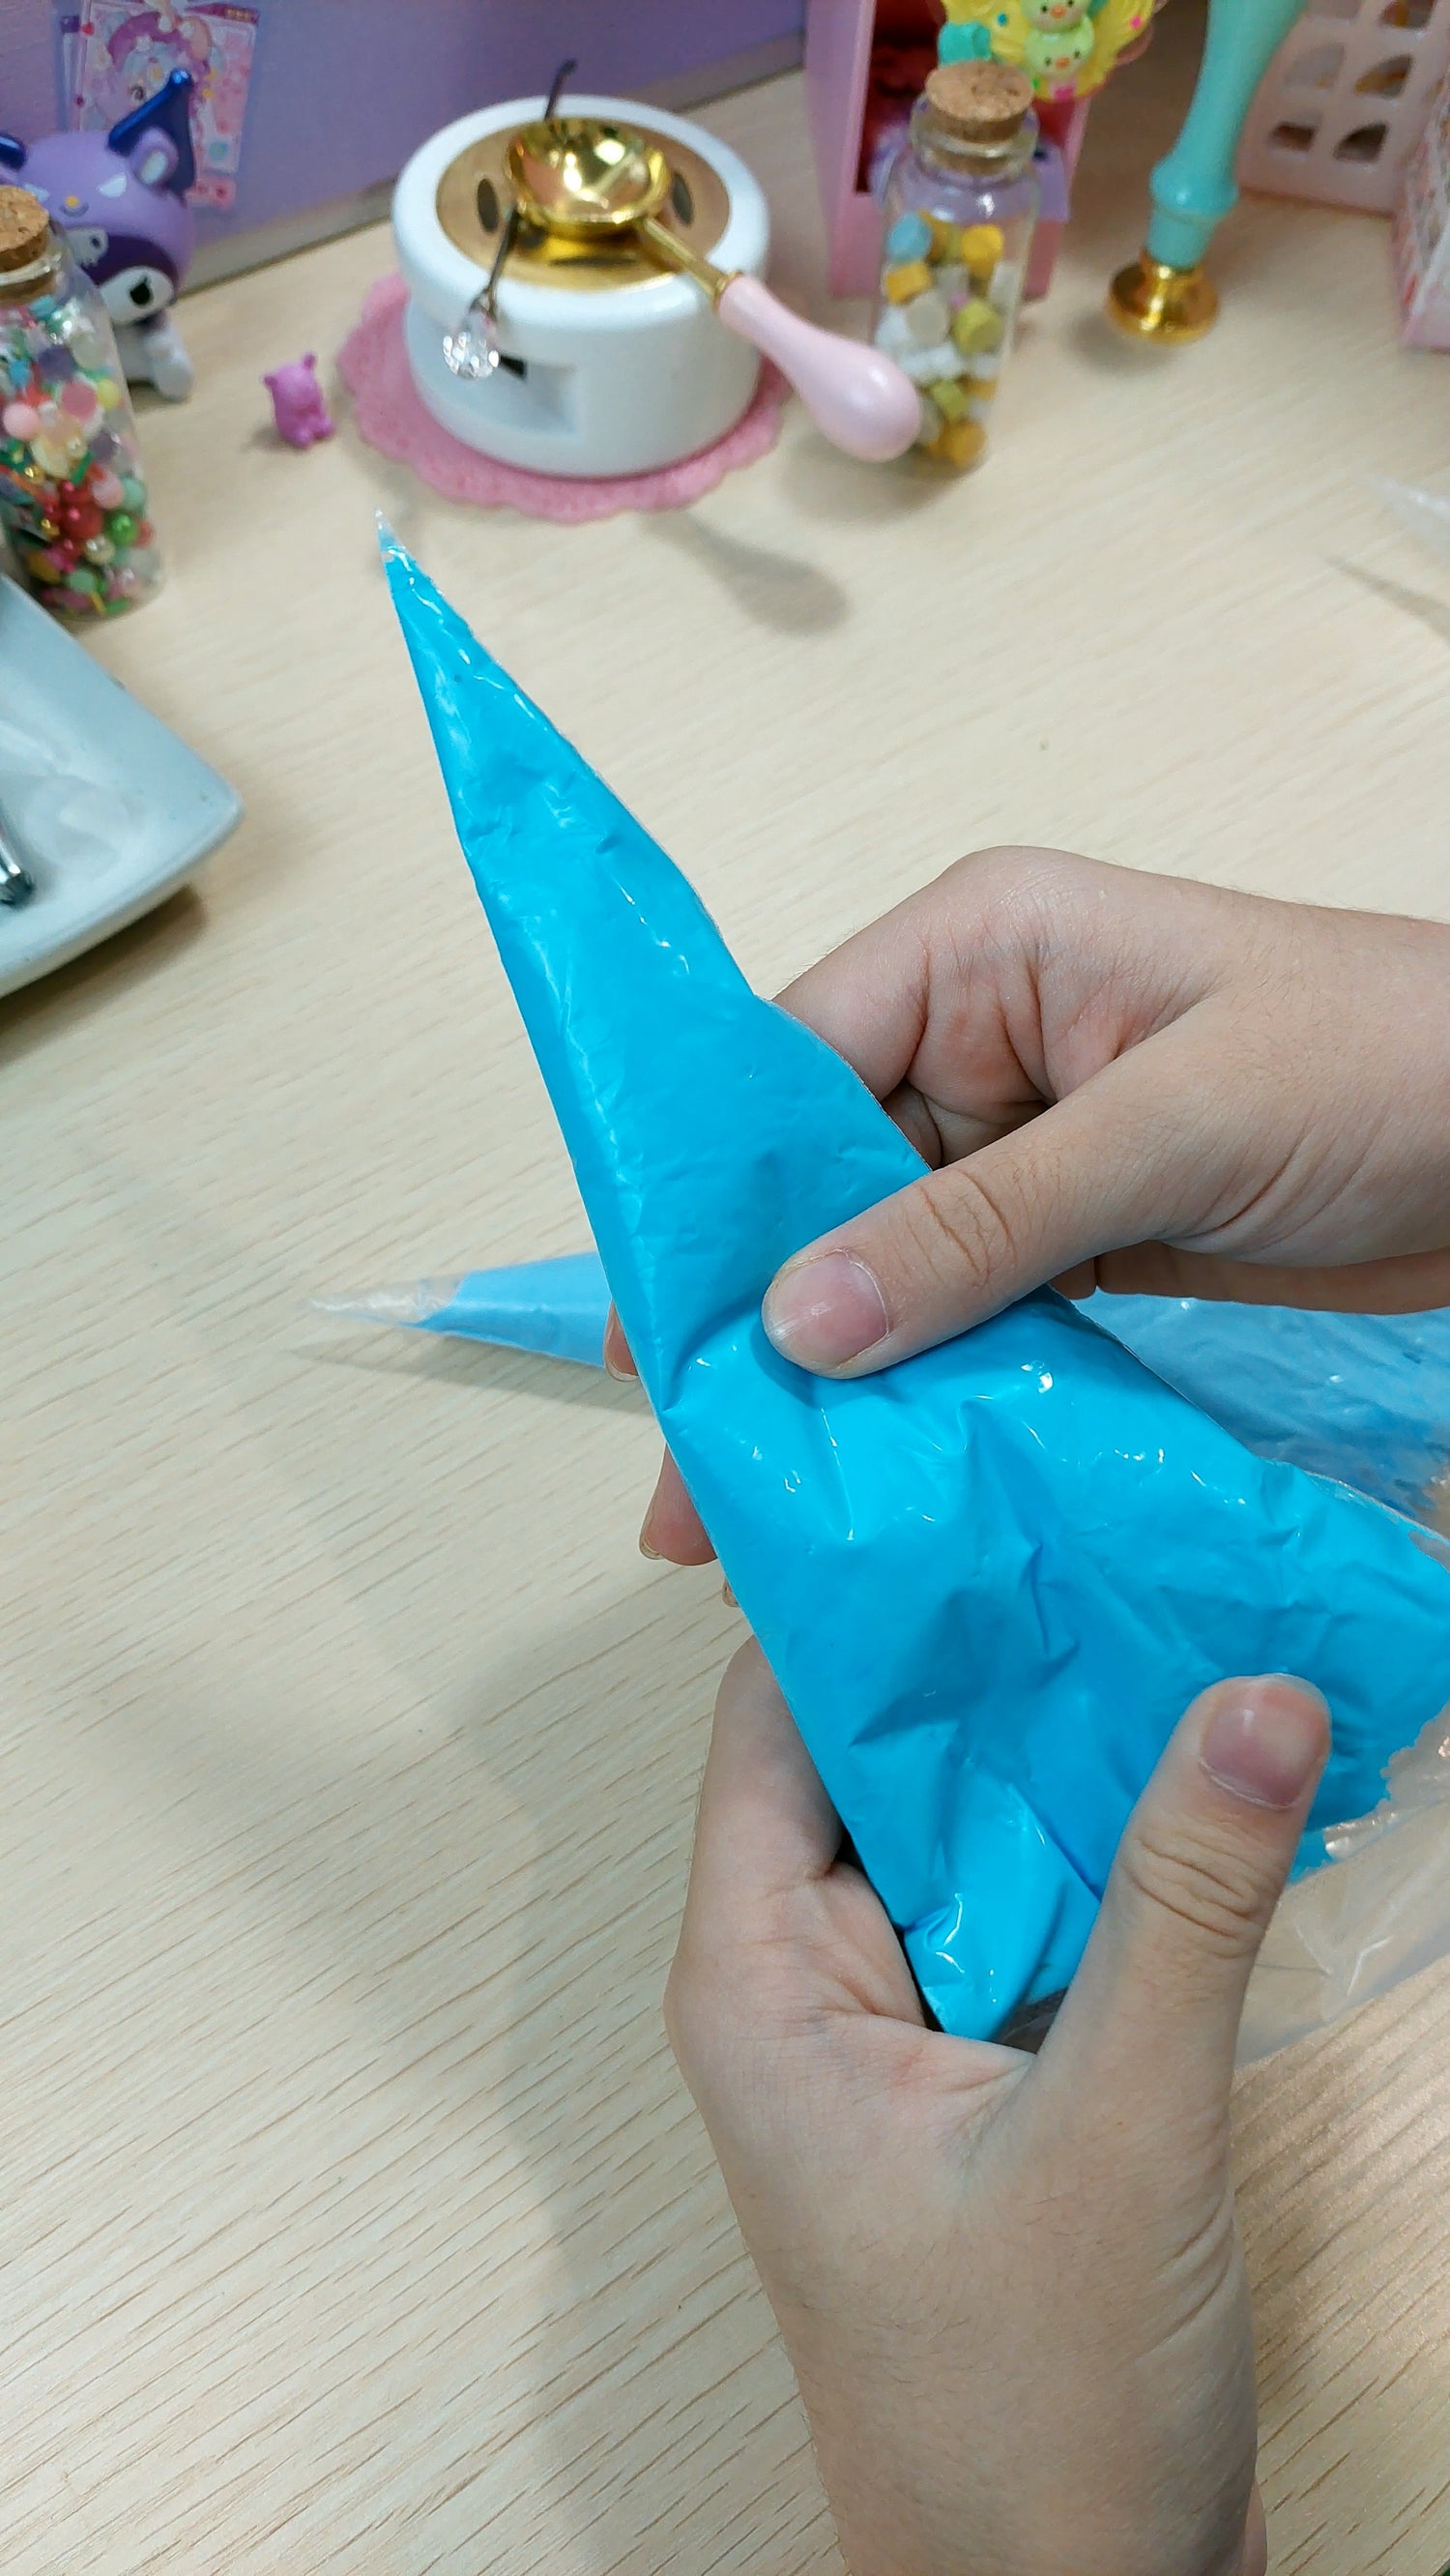
Prepare the Decoden Craft Cream
Gently massage the decoden craft cream to soften it and ensure a smooth texture. Push the cream toward the piping tip with your fingers, or use a craft rolling pin for even distribution.
STEP TWO
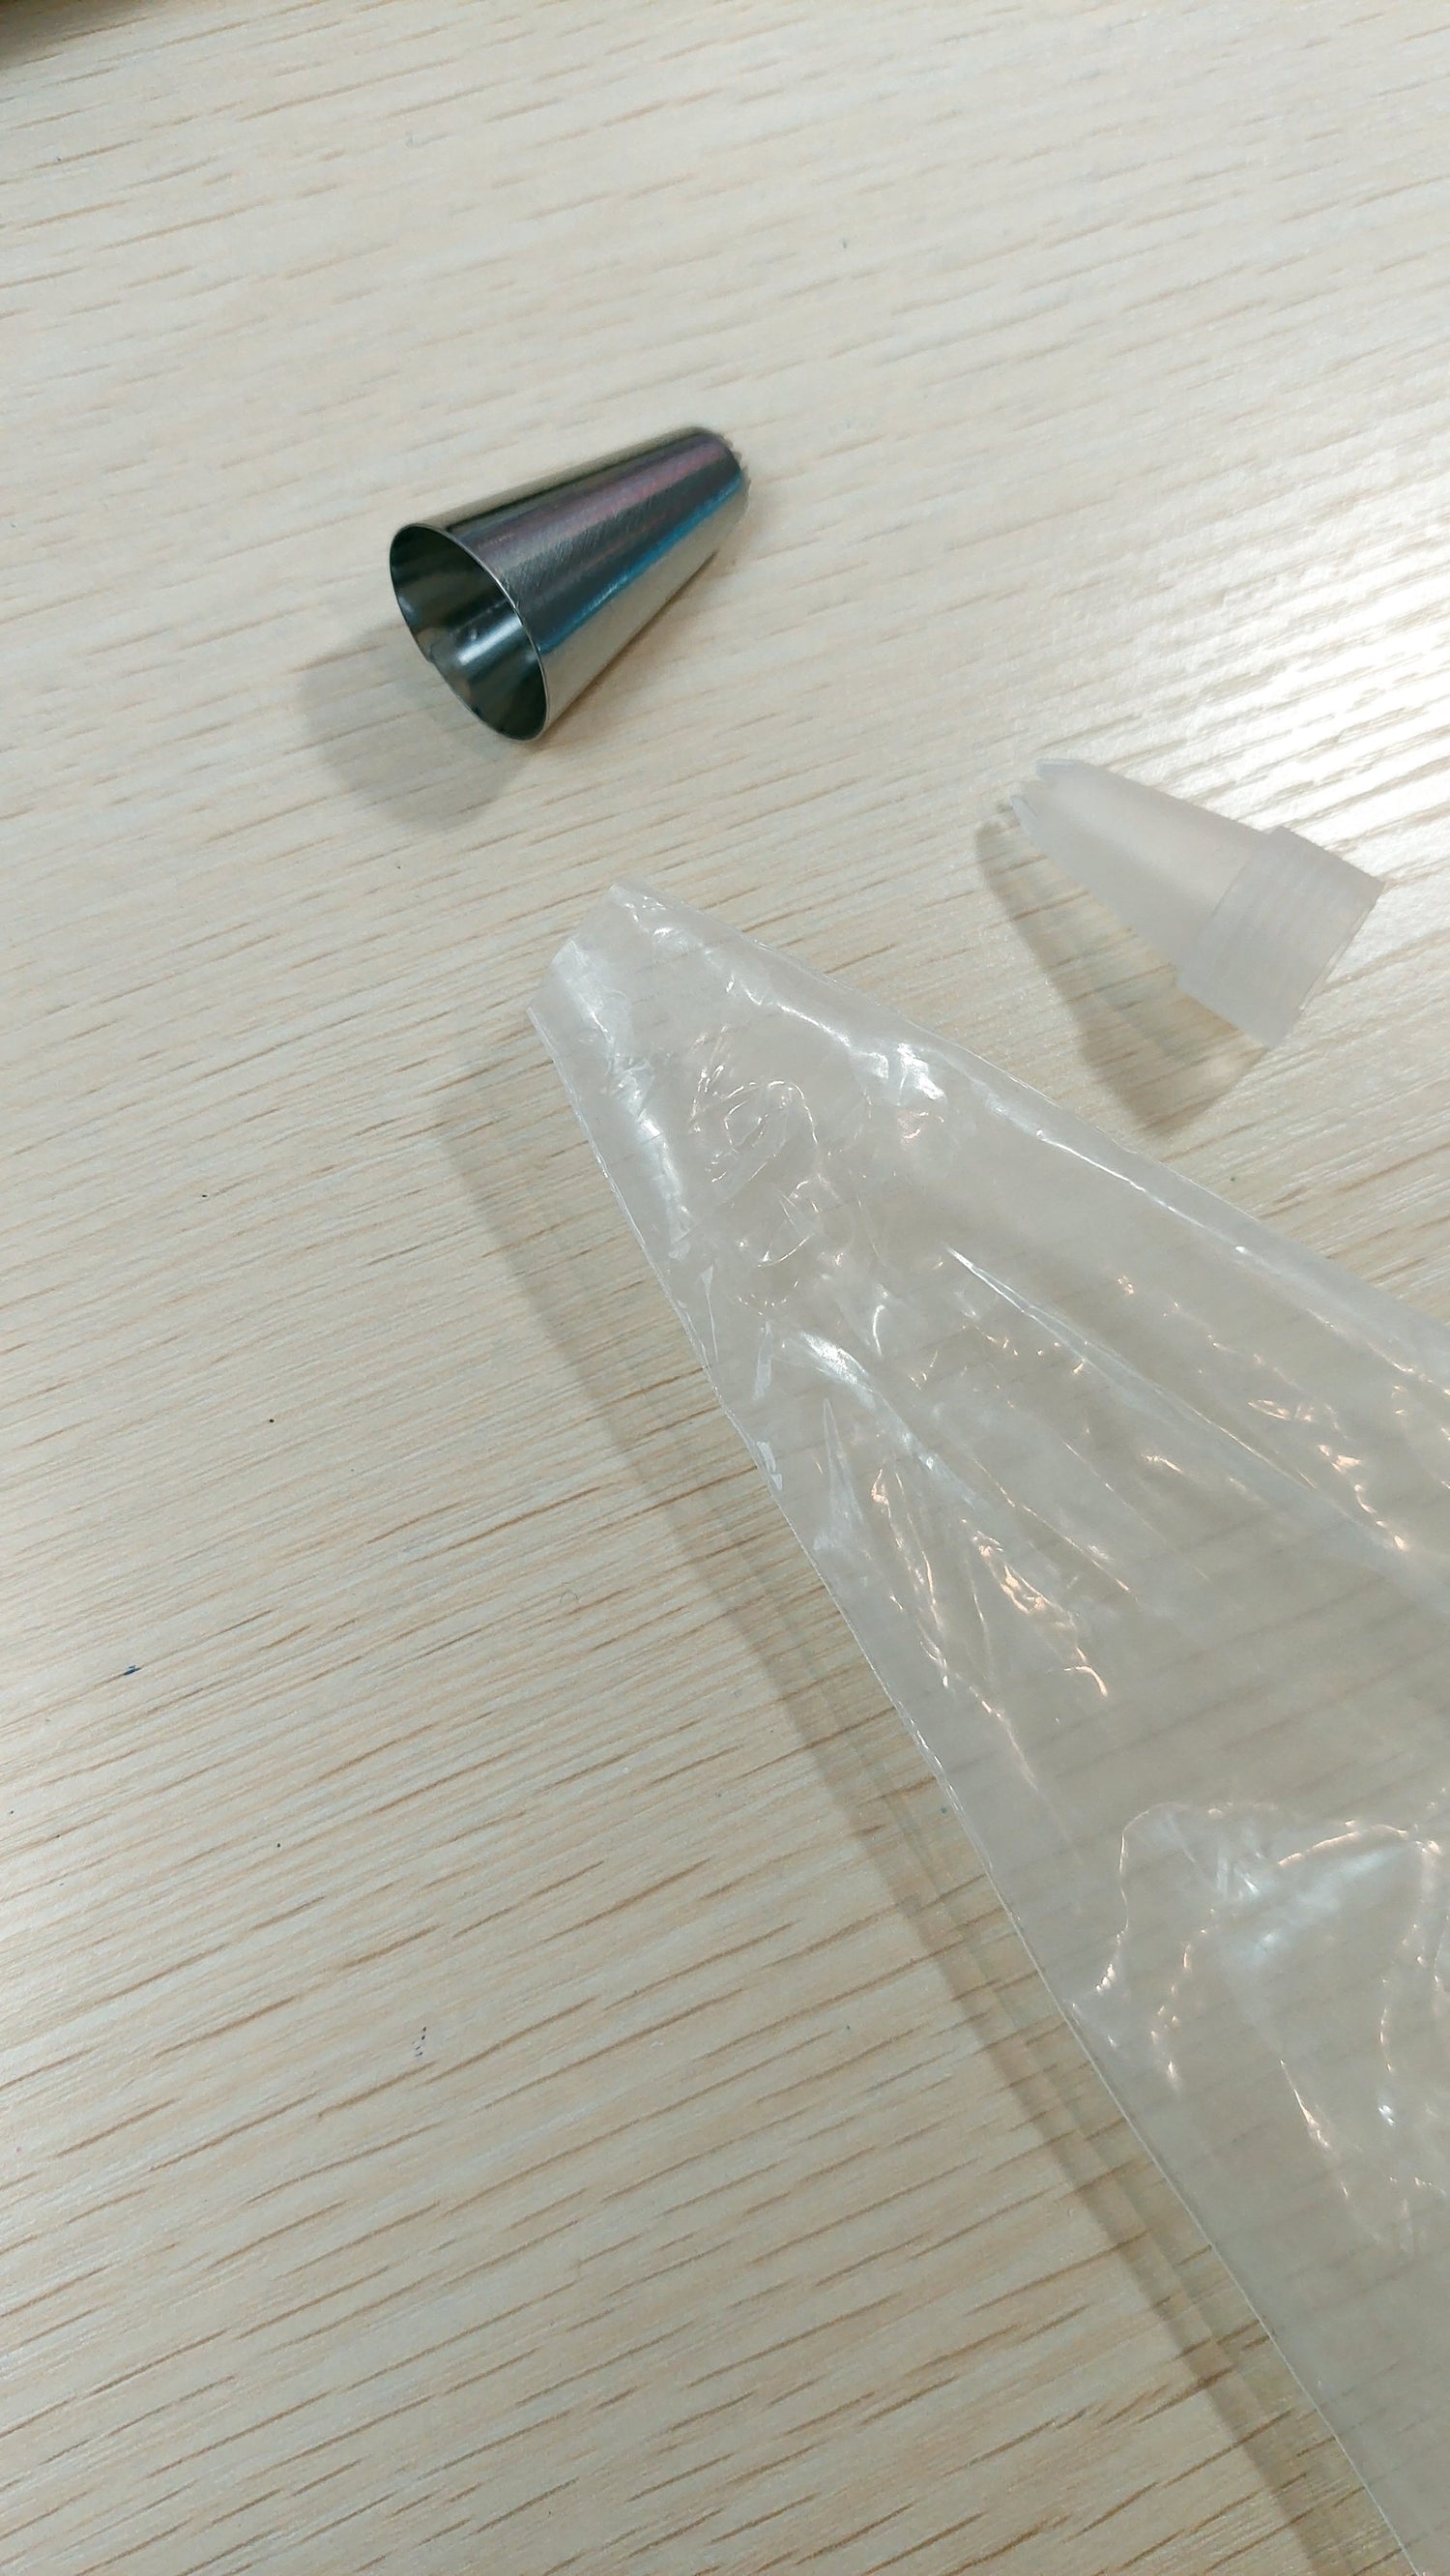
Preparing Your Piping Bag
Select your desired piping tip for the decoden craft cream. Cut the end of the piping bag about 2.5cm, then insert the tip securely.
STEP THREE
Creating the Cake Top
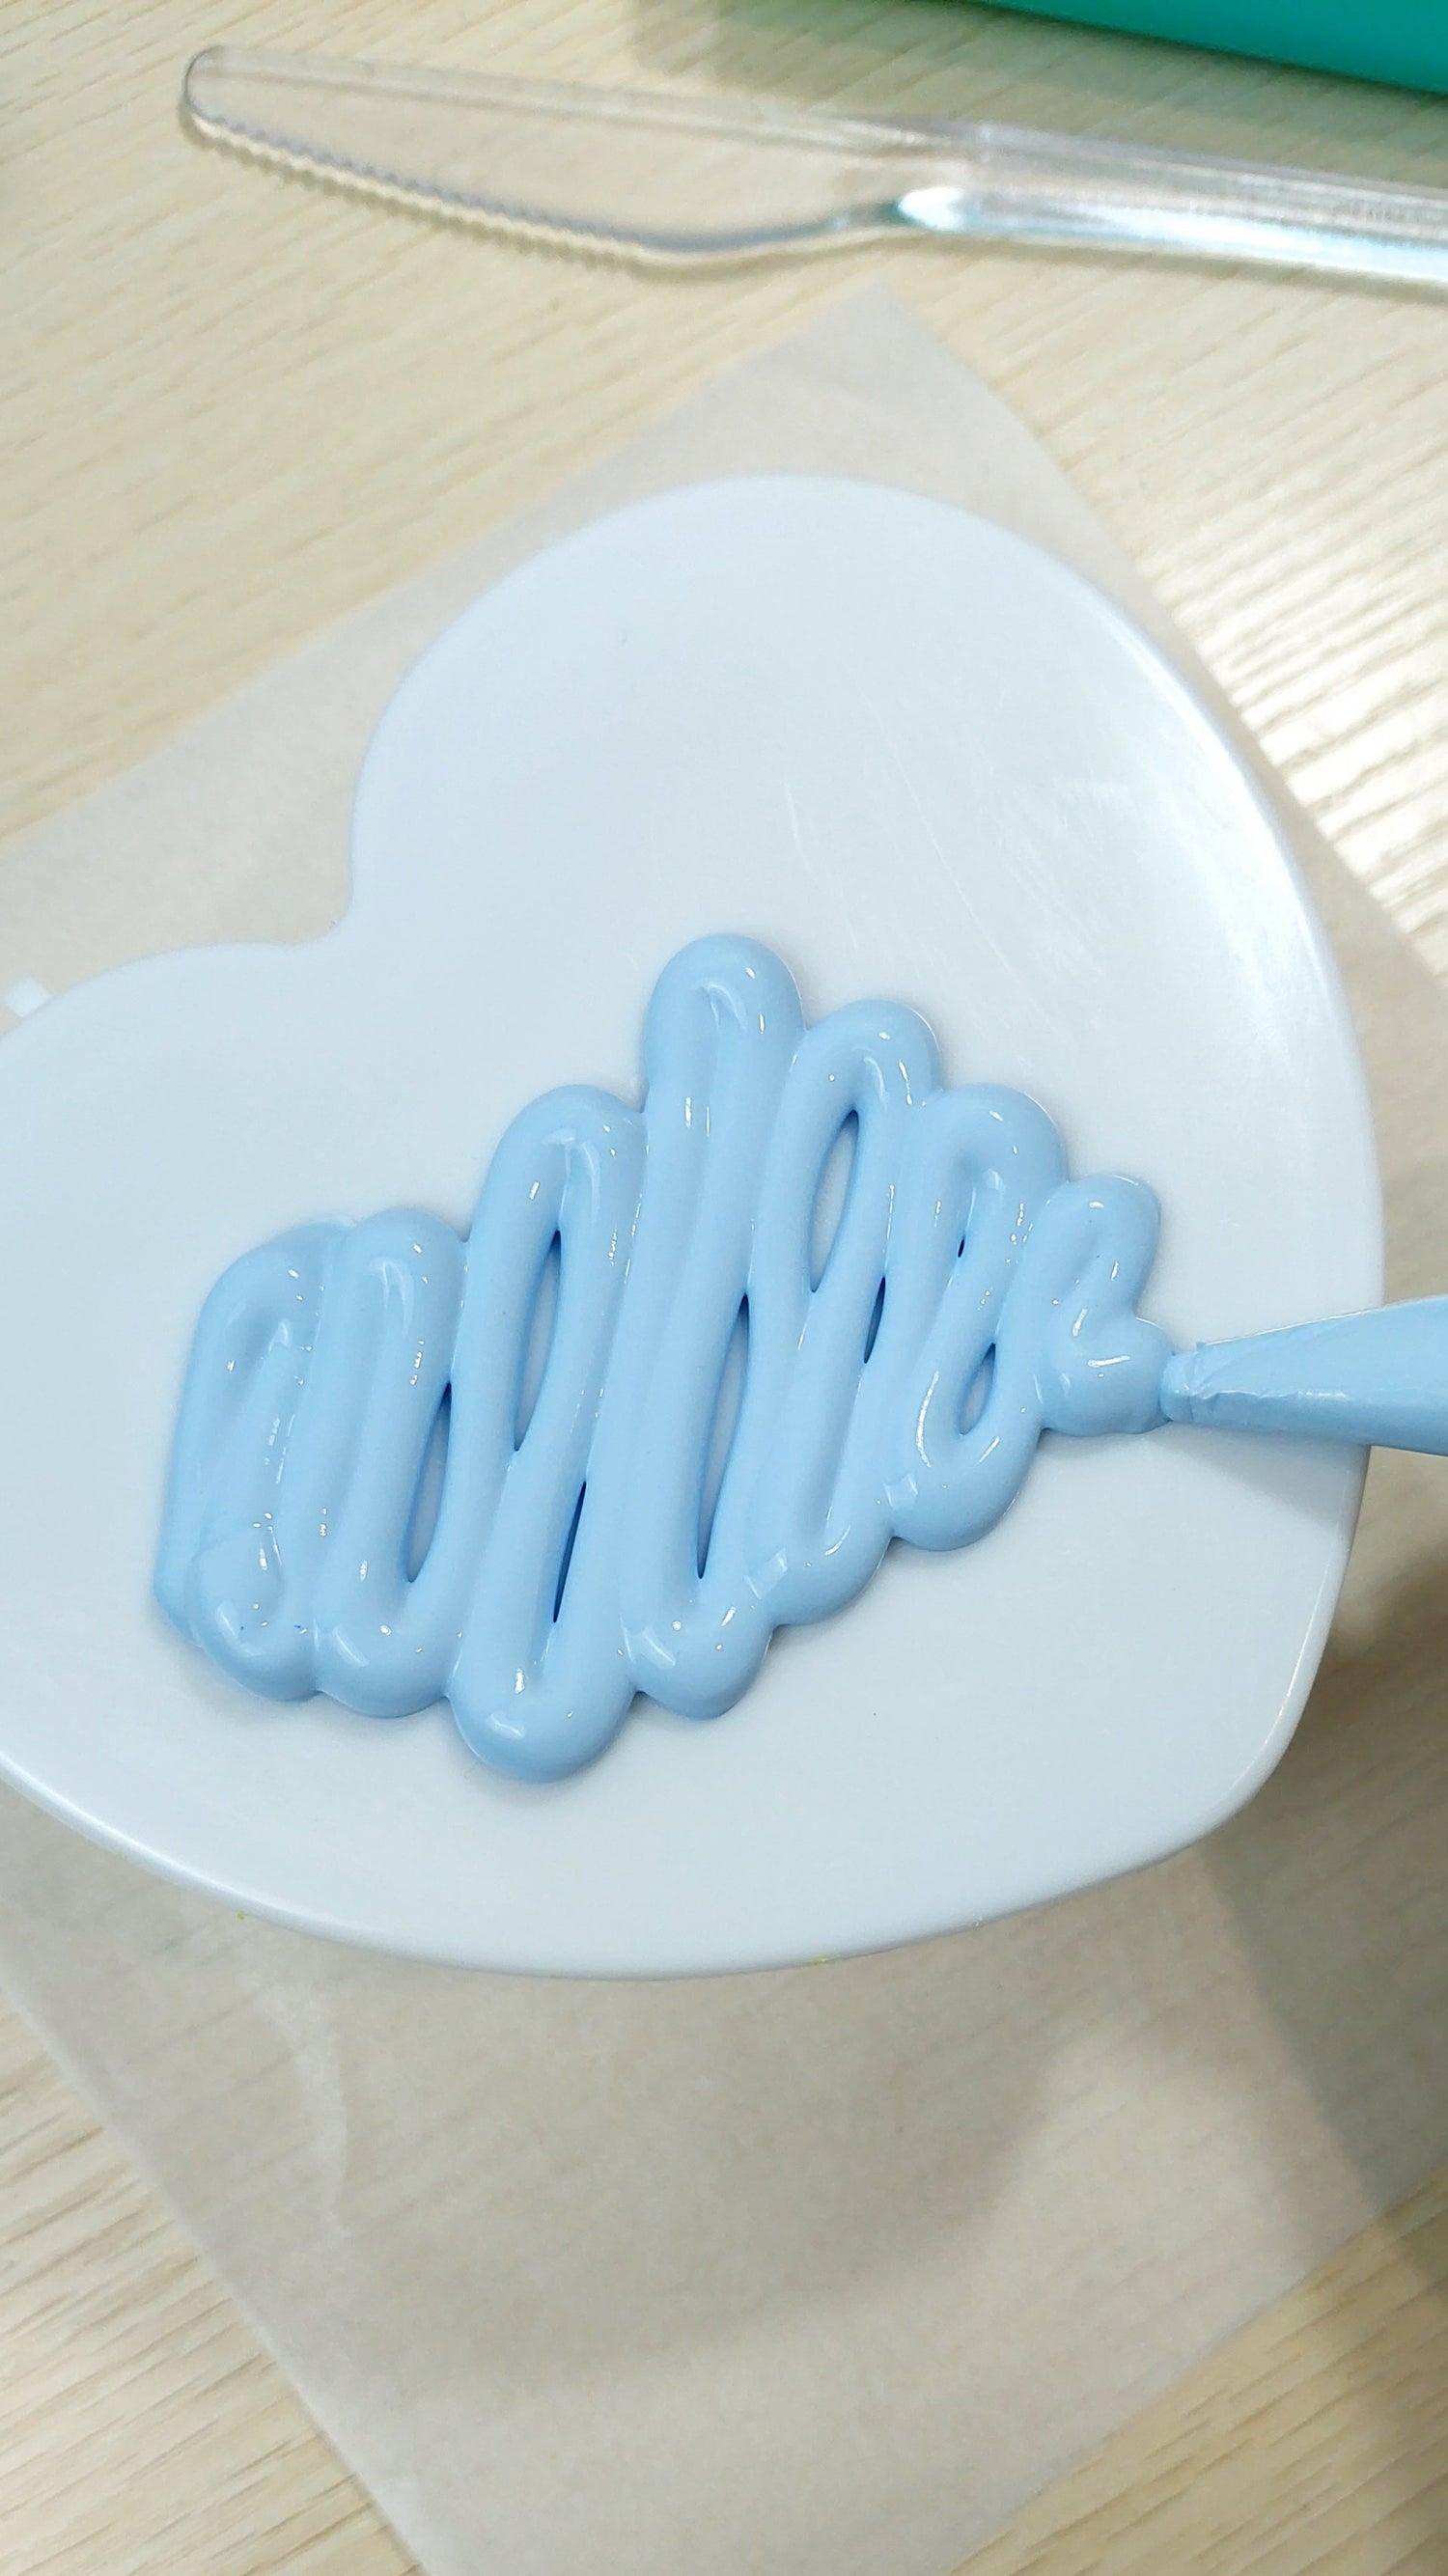
Using the Softest Cream for the Base
If one of your decoden craft creams feels softer, use it for spreading, as it provides the best consistency. Before placing the cream in a piping bag, cut the tip to 1.5cm. Pipe out about 1/4 to 1/3 of the cream—this should be enough to cover the jewellery box top.
Use a plastic knife or craft spatula to spread the cream evenly. Add sprinkles now while the cream is still setting; once it dries, the surface will be less adhesive, making it harder to secure decorations.
step four
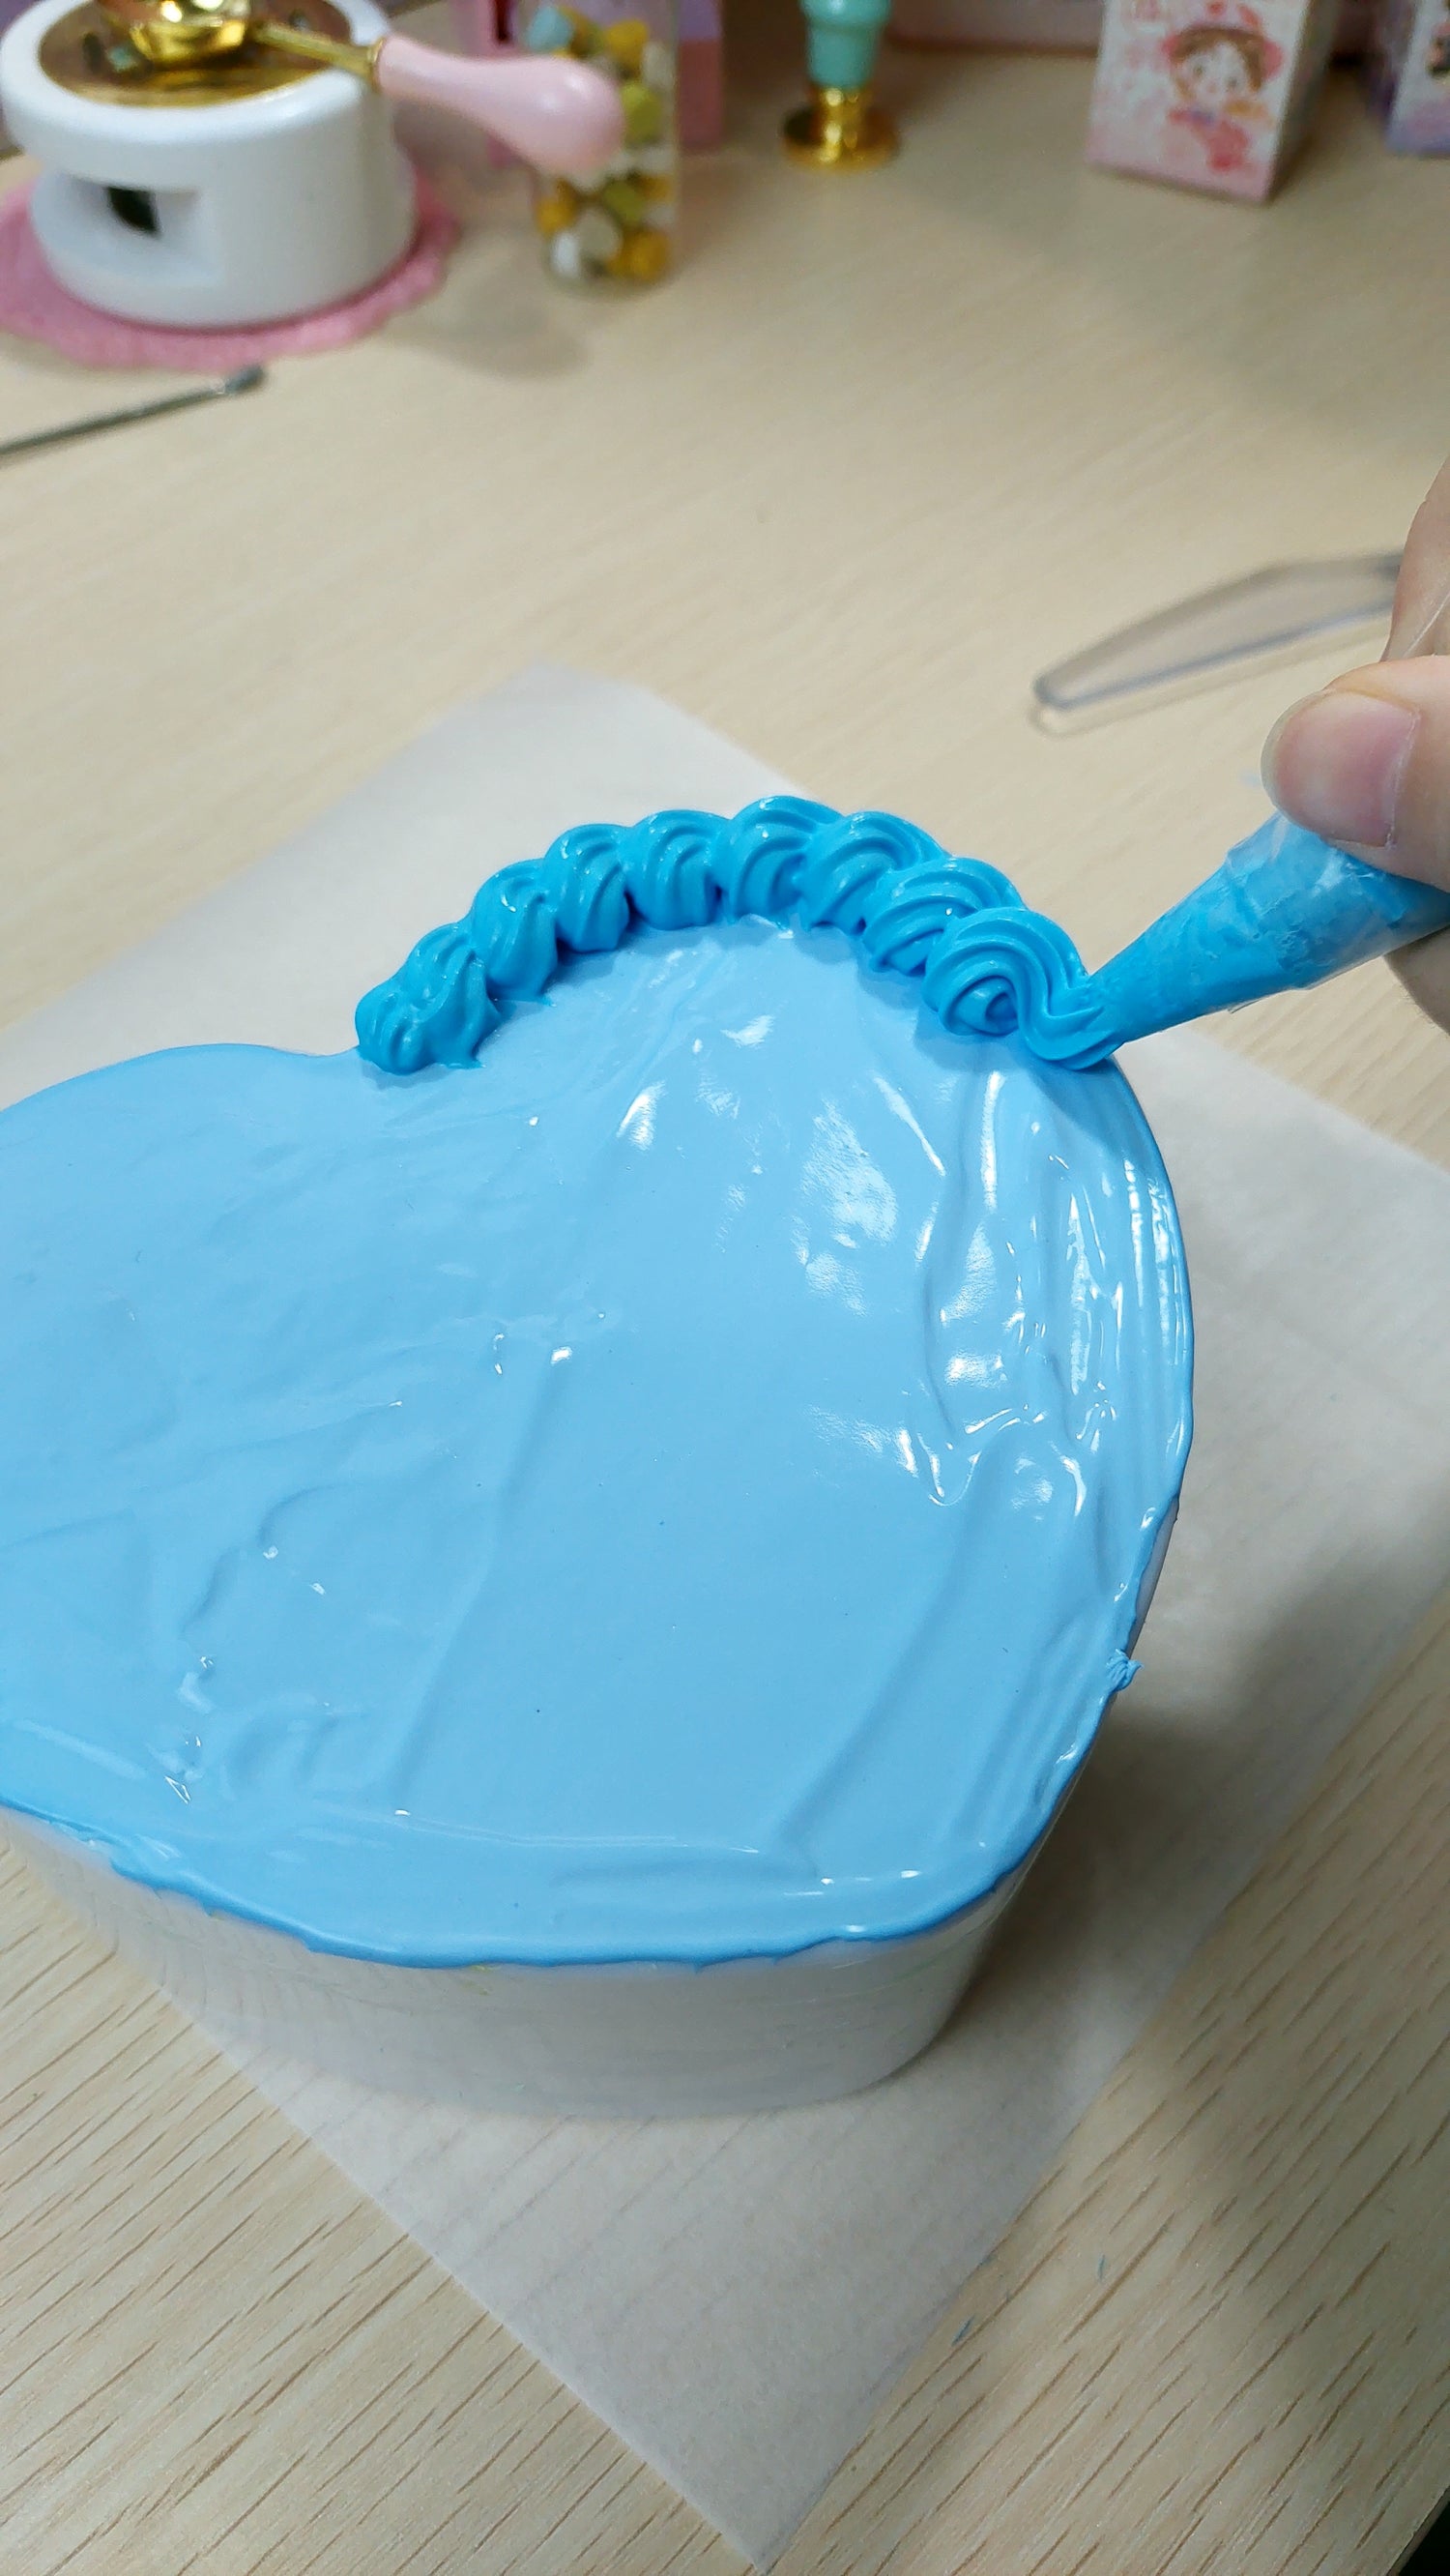
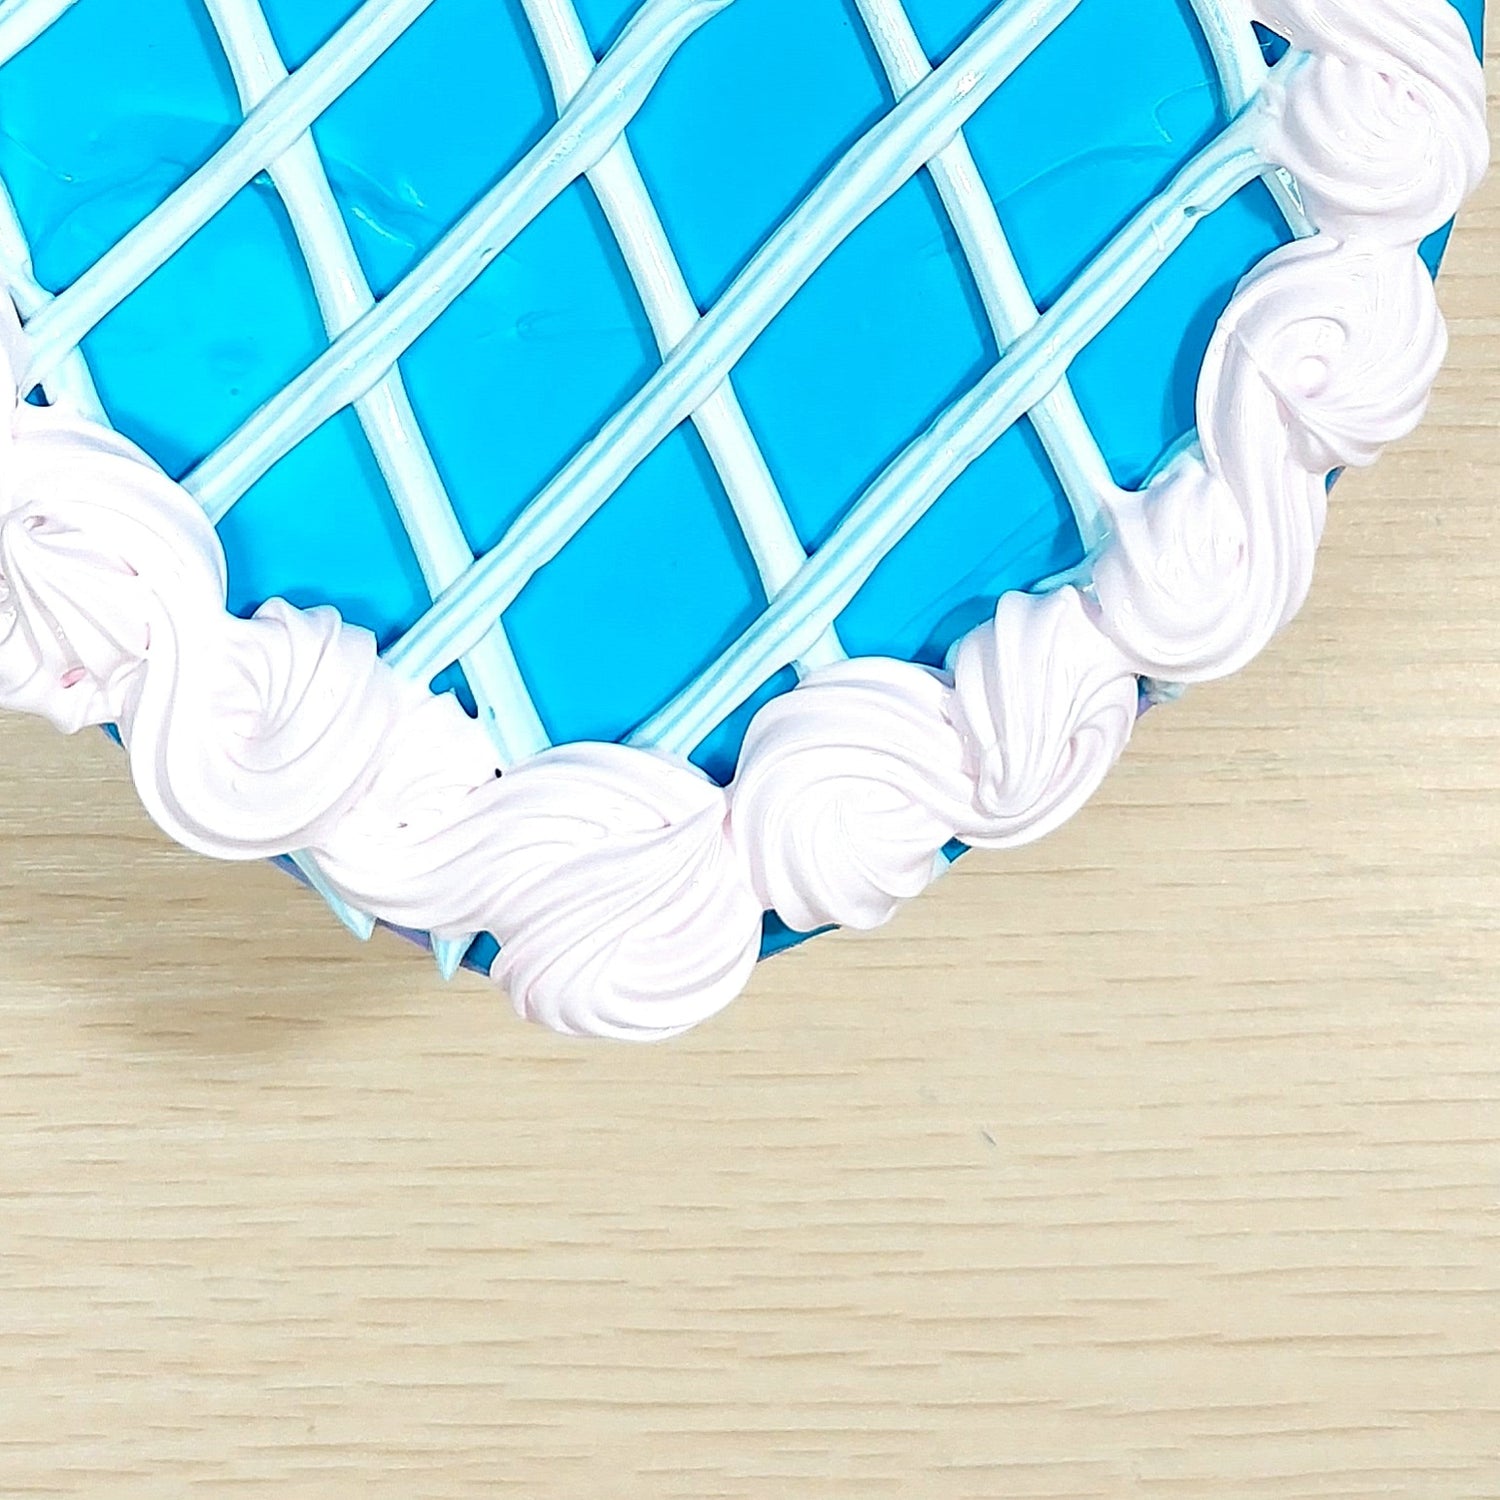
Spiral Border Design
We’ve chosen a large star tip for piping a circular border around the edge. Use a consistent, circular motion to create a beautiful, textured border.
Step four
S Swirl Border
Another simple style to try is piping S-shaped patterns around the border for a decorative, flowing design.
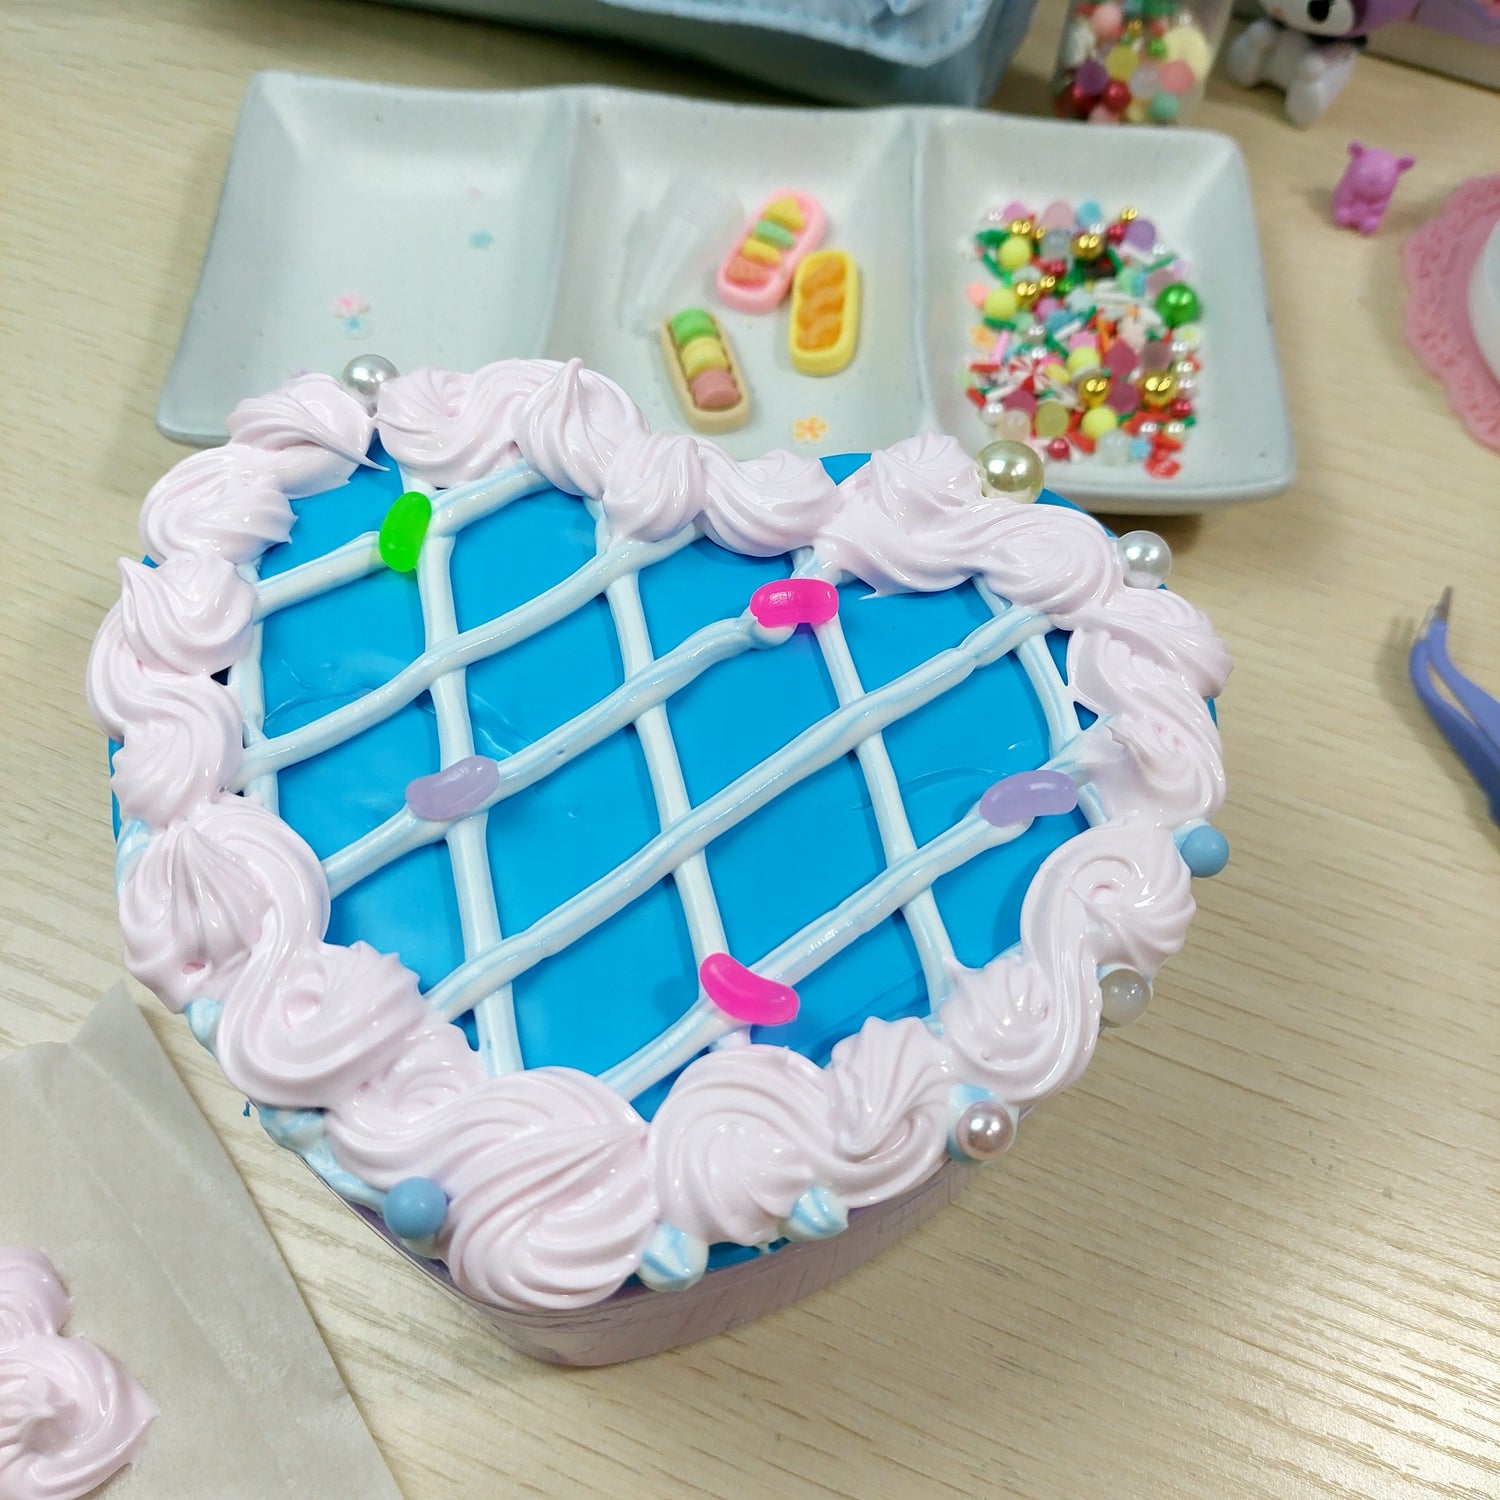
step five
Now Decorate!
Add your topper, charms, and any remaining sprinkles to the border for a final touch of decoration.
Blog posts
View all-

Guest Creator: Tatiana's Masterclass on Making ...
Master class on creating a collage in the style of "busy pages" with SIMNO stickers "Coffee and cakes" Main materials and tools: a notebook in a grid/dot page style, SIMNO...
Guest Creator: Tatiana's Masterclass on Making ...
Master class on creating a collage in the style of "busy pages" with SIMNO stickers "Coffee and cakes" Main materials and tools: a notebook in a grid/dot page style, SIMNO...
-

Guest Creator: Tatiana’s 5 Day Weekly Planner M...
Master class on creating a weekly planner for schoolgirls (for 5 days), with stickers from SIMNO. The weekly planner is undated and without any signs - for the convenience of...
Guest Creator: Tatiana’s 5 Day Weekly Planner M...
Master class on creating a weekly planner for schoolgirls (for 5 days), with stickers from SIMNO. The weekly planner is undated and without any signs - for the convenience of...
-

Guest Creator: Tatiana’s Collage Masterclass
Tatiana’s Collage Masterclass – A Fun & Easy Way to Start Collaging! Learn how to create beautiful collages in four easy steps! Perfect for beginners, this class will show you...
Guest Creator: Tatiana’s Collage Masterclass
Tatiana’s Collage Masterclass – A Fun & Easy Way to Start Collaging! Learn how to create beautiful collages in four easy steps! Perfect for beginners, this class will show you...